Your first board
In the app
-
Run
soldermask serveand openhttps://localhost:8443/. -
In the composer at the top of Projects, type a sentence and press Enter:
A 3.3V LDO breakout with input and output headers
-
You land in the workbench with the build already running. The thinking bubble names each stage as it happens: designing → resolving parts → placing → routing → writing fab files → checking stock → fetching 3D models → saving. A first board takes one to three minutes; most of it is the model and the router.
-
The reply says what the model built and what changed; the board appears in the CU view; the readout along its foot says whether ERC is clean, whether every net routed, and whether the parts are in stock at the selected quantity.
-
Ask for a change in the same thread — add a reverse-polarity protection diode on the input — and the board is edited, not redrawn: the reply lists parts added, removed and swapped, and the previous board is still there as a version.
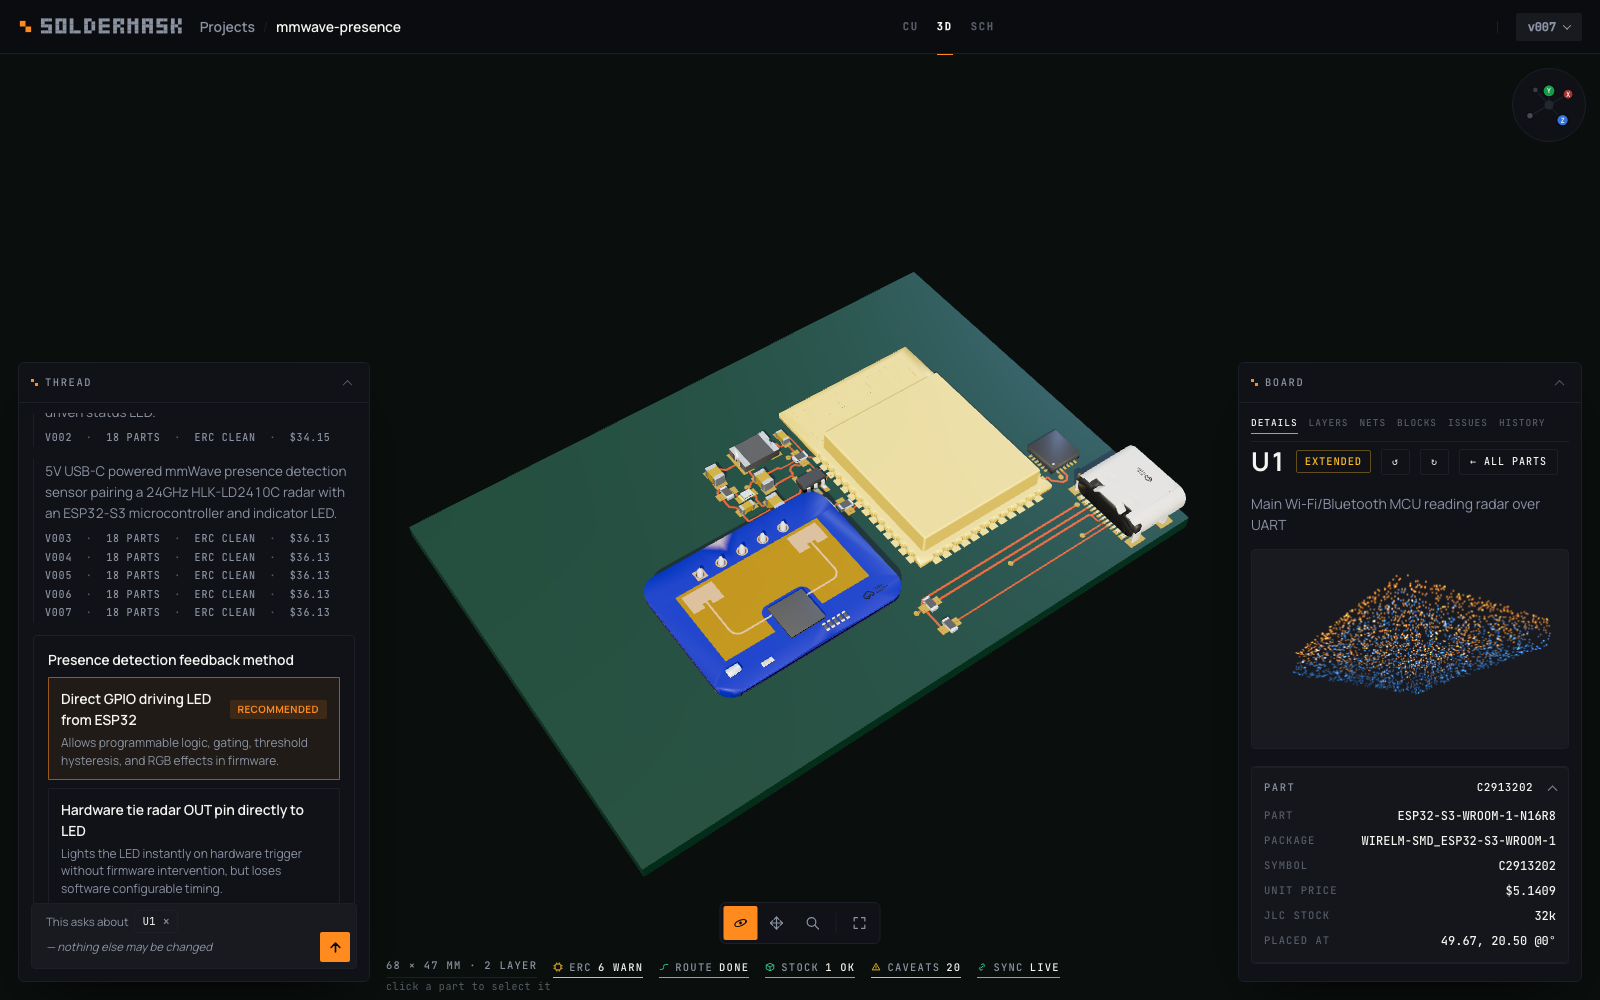
What to look at before you trust it
- Details → Not guaranteed. Everything the model, the parts search or the symbol check could not do. An empty list means every part resolved and every IC pin was verified against its symbol.
- Details → Build. Cost and stock headroom at 1, 10, 25 and 100 boards; a
shortorgoneline means that quantity cannot be built today. - The SCH view. A no-connect mark on a pad means the pad is on no net; an open circle means a one-pin net. Both are real gaps, not drawing faults.
- History. Every version with what changed against its parent, and the files to download.
From the command line
The same pipeline without the app, printing every stage:
soldermask "a 5V to 3.3V regulator breakout with a power LED" --out build/
soldermask "a 5V to 3.3V regulator breakout" --project LDO       # and save it as a version
soldermask --design my_design.json --out build/                  # skip the model
The last thing printed is the honest section — what this board does NOT guarantee — so it is what is left on your screen. See the command line reference.